Canadian summers aren’t exactly famous for their balmy weather. With only a few precious months of warm weather, many Zone 2, 3 and 4 gardeners find themselves pining for longer seasons. While buying established bedding plants from your local garden center is always a great option, there’s a unique satisfaction in nurturing your garden from tiny seeds into a thriving, plant-filled paradise. The secret? Starting your seeds early, indoors!
This guide shares six easy steps to get your seeds growing happily, giving your garden a significant head start. And to make things even easier, you can reference our comprehensive Seed Starting Calendar to pinpoint the perfect time to plant each variety you’re dreaming of for your garden.

Zone 2-4 Seed Starting Calendar
- Veggies, Herbs, Annuals, & Perennials
- Zone 2-4 planting, transplanting, and direct sowing dates for 150+ plants
- Instant download (printable!)
$19.99Get it for $9 for a limited time!
Seed Starting Supplies for Short Seasons
Just like any successful project, a little preparation goes a long way. Gather your materials and set up a comfortable workspace – your kitchen table works perfectly! You’ll need:
- Seeds
The stars of the show - Growing Tray
To hold your seedlings. - Humidity Dome
A clear plastic lid for your tray, essential for germination. - Growing Medium
Soil or peat pellets. If using soil, consider tray inserts to keep seedlings organized. - Plant Labels and a Marker
Crucial for remembering what you’ve planted where. - Grow Light (optional):
A grow light is a game-changer for indoor seed starting. - Seedling Heat Mat (optional)
Ideal if your growing space is on the cooler side (like a basement), as seeds need warmth to germinate.
Before you begin, prepare your workspace. Lay down some old newspaper or a tarp to catch any stray soil – it makes cleanup a breeze!
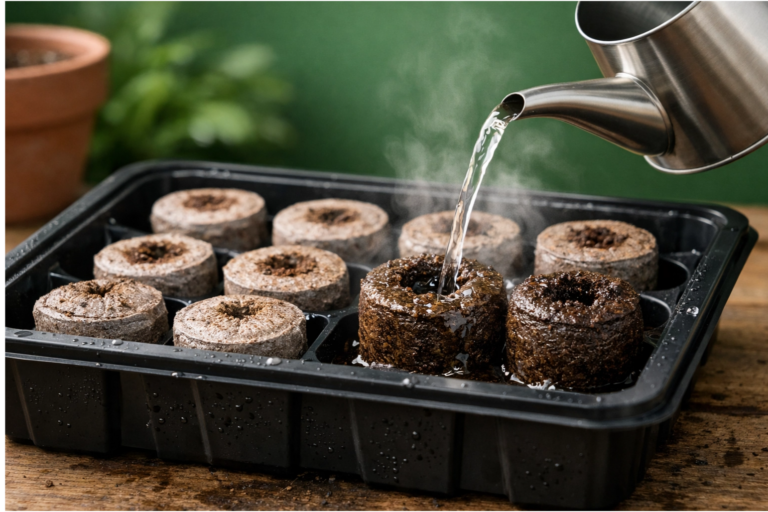
Step 1: Prep your planting medium
If you’re using peat pellets, soak them in warm tap water; this helps them expand quickly and fully. Add water gradually until they’re completely plump. If you’re using seed starting soil, fill your grow tray or inserts, leaving about 1/4 to 1/2 inch of space from the top. This prevents water from spilling over. If your soil feels dry or hard, add a small amount of water and mix it with your hands until it’s crumbly and holds together without being soggy.
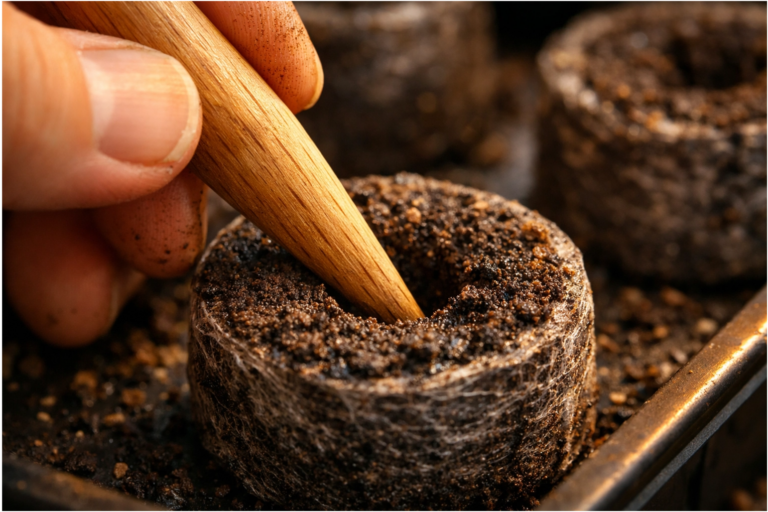
Step 2: Create seed wells
Once your pellets are expanded or your soil is ready, use a pencil or a dibber to poke a small hole in the center of each. Don’t go too deep! A general rule of thumb is to plant seeds about 1 inch deep, but always check your seed packets for specific instructions. You might find it easier to create all your seed wells before you start planting.
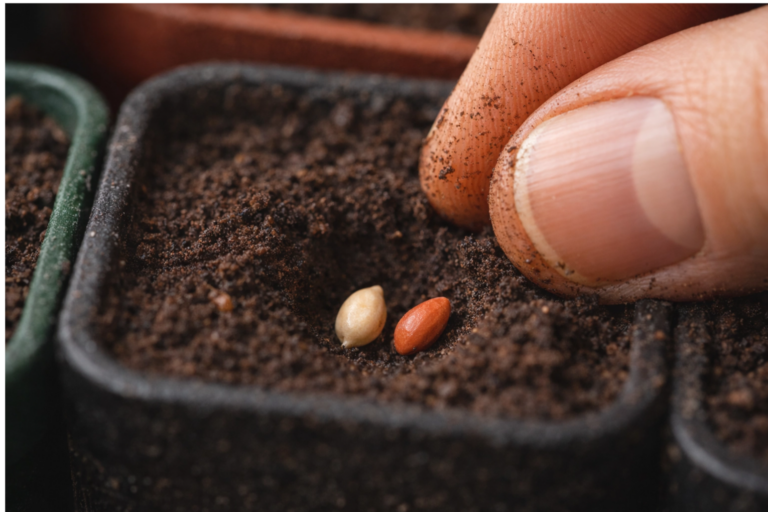
Step 3: Add your seeds
Drop one or two seeds into each well. If you’re using pellets, gently press the soil around the seeds. For trays, sprinkle a tiny amount of soil on top to cover them. Repeat this for all your chosen varieties.
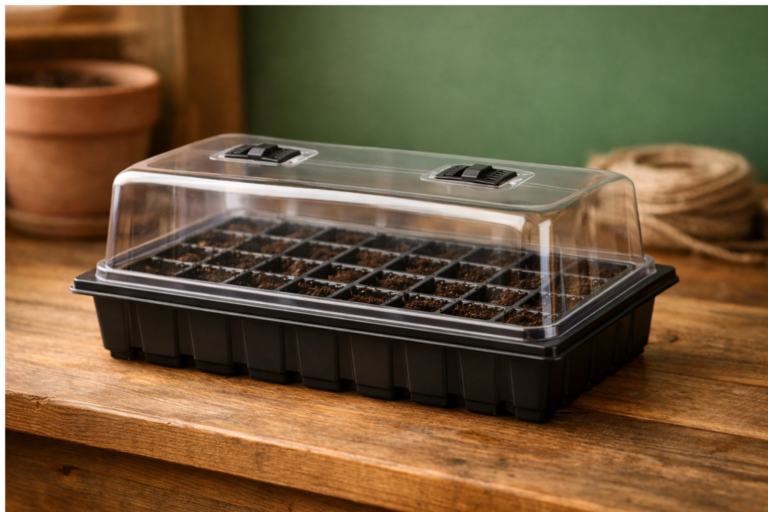
Step 4: Cover & keep warm
Place the humidity dome over your tray. At this stage, direct light isn’t necessary, but warmth is crucial for germination. Most seeds germinate within 5-14 days, though some can take longer (again, check your seed packet!). A sunny windowsill might seem ideal, but it can get too cold at night, hindering germination. Aim for a consistent temperature of 8-10 degrees Celsius (46-50 degrees Fahrenheit). If your area is cooler, a seedling heat mat beneath your tray will provide the perfect cozy environment.
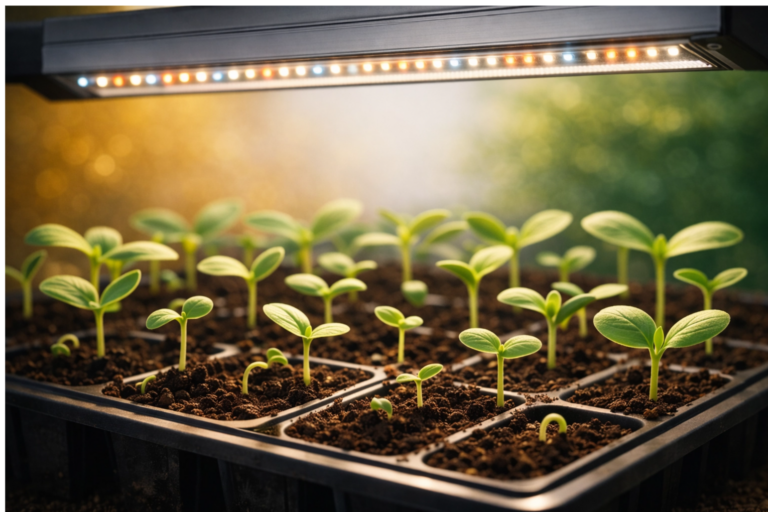
Step 5: Light up once they sprout!
As soon as you see those first tiny sprouts emerge, remove the humidity dome and provide light immediately! Seedlings are like teenagers—they’ll stretch for what they need, and if they don’t get enough light, they’ll become long and leggy. If you don’t have a naturally bright spot, invest in grow lights. Position them about 6-8 inches above your seedlings to ensure they get enough intensity. Seedlings need a lot of light—typically 12-16 hours a day—so using a timer set to 16 hours on and 8 hours off is a smart move.
Step 6: Transplant When Ready
Your seedlings are ready for their next adventure once they develop their second or third set of true leaves (these are the leaves that form after the initial, very first set of leaves, usually within 2-4 weeks). At this point, you can transplant them into larger containers if you’re still waiting for warmer weather, or directly into your garden if the threat of frost has passed and the soil is workable. This process is often referred to as hardening off seedlings.
Exactly when do I start my plants?
Starting seeds indoors is a rewarding way to extend your growing season and cultivate a deeper connection with your garden. Wondering when to start each of your chosen plants? Our comprehensive Garden Hero Master Seed Starting Calendar is your ultimate guide, packed with zone-specific dates for vegetables, annuals, perennials, and herbs. Get your copy below today and plan your most successful garden yet!
Get the Master Seed Starting Calendar
Our Zone 2-4 planting reference for 150+ veggies, herbs, annuals and perennials. Including indoor starting, transplanting, and direct sowing dates. Plus, how to harden-off your seedlings.
Get it for $9 for a limited time!
